


In this Blog article, we will learn how to detect Blurred Images which are kept in our gallery. We will implement this using Python and OpenCV.
What will be covered in this Blog
1. How to compute the amount of blur in an image?
2. Laplacian operator.
By the end of this article, you’ll be able to apply the variance of the Laplacian method to your own photos to detect the amount of blurring.
Variance of the Laplacian
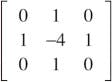
You simply take a single channel of an image (presumably grayscale) and convolve it with the following 3 x 3 kernel:
And then take the variance (i.e. standard deviation squared) of the response. If the variance falls below a pre-defined threshold, then the image is considered blurry, otherwise, the image is not blurry.
The reason this method works is due to the definition of the Laplacian operator itself, which is used to measure the 2nd derivative of an image. The Laplacian highlights regions of an image containing rapid intensity changes, much like the Sobel and Scharr operators. And, just like these operators, the Laplacian is often used for edge detection. The assumption here is that if an image contains high variance then there is a wide spread of responses, both edge-like and non-edge like, representative of a normal, in-focus image. But if there is very low variance, then there is a tiny spread of responses, indicating there are very little edges in the image.
The more an image is blurred, the less edges there are.
The trick here is setting the correct threshold which can be quite a domain dependent. Too low of a threshold and you’ll incorrectly mark images as blurry when they are not. Too high of a threshold then images that are actually blurry will not be marked as blurry.
Let Code it!
The method is simple and straightforward and can be implemented in only a single line of code:-
cv2.Laplacian(image, cv2.CV_64F).var()
Now we are going to use it with our image:-
import cv2
image = cv2.imread('write image Path here')
Now we change image from BGR to Grayscale.
gray = cv2.cvtColor(image, cv2.COLOR_BGR2GRAY)
Now we calculate the focus measure of the image using the Variance of Laplacian method.
fm = cv2.Laplacian(gray, cv2.CV_64F).var()
Thresholding the value
This is the time to set our threshold value, here we set our threshold to 100, you can change it as your need.
th = 100
result = "Not Blurry"
if fm < th:
   result = "Blurry"
Display of image with the result
Now we are going to write the result over the image and display it.
cv2.putText(image, "{}: {:.2f}".format(result, fm), (10, 30),
        cv2.FONT_HERSHEY_SIMPLEX, 0.8, (0, 0, 255), 3)
cv2.imshow("Image", image)
key = cv2.waitKey(0)
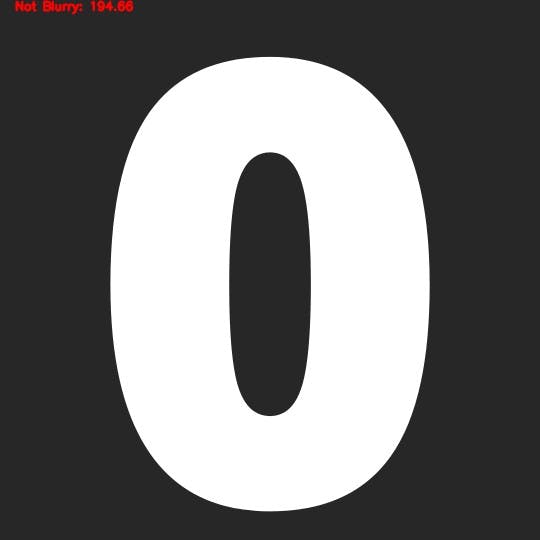 This image has a focus measure of 194.66, which means the image is non-blurry and in-focus.
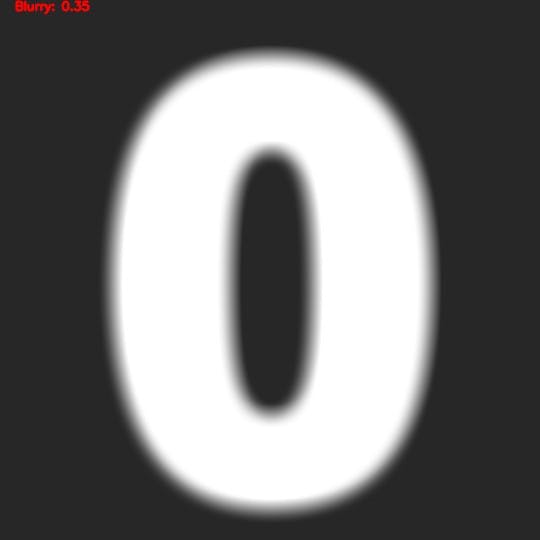
This image has a focus measure of 0.35, which means the image is highly "blurry".
Final output:-
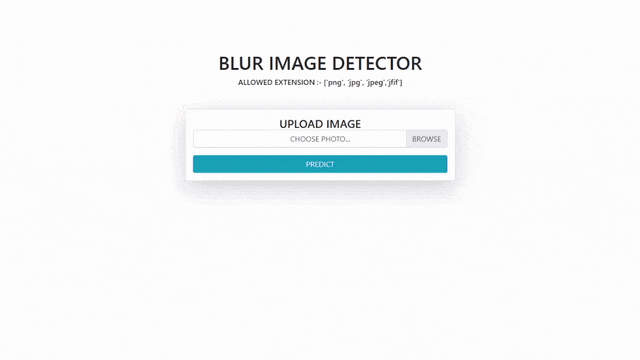
You can find the Full Source Code of this project in form of a web app at my GitHub Repository. Drop a star if you find it useful.
Thank you for reading! Do share your valuable feedback and suggestions!